How to Build a Simple Kitchen Cabinet for 30$
| Updated: |(Disclosure: Some of the links below may be affiliate links)
We needed a small cabinet to save some space in our kitchen. Instead of shopping for one, I decided to build a small kitchen cabinet. I really like building pieces of furniture. It is a lot of fun and it is quite cheap.
In the end, I was able to build a nice and simple white kitchen cabinet for about 30$. I only used some simple tools because I do not have a workshop. The result is not perfect but it is not too bad either. And it is much more satisfying than if I bought it.
I am going to go over the various steps of the project as well as the possible improvements. I am also detailing the cost of the entire project. Finally, I am going to talk about all that I learned during this project. Keep in mind that I am a beginner! I am still learning a lot with each of my DIY projects.
But if I was able to do that, everybody can build a cabinet at least as good as this one. And probably better if you do not do the same mistakes I did!
The project
The idea of the project was to build a very simple kitchen cabinet to get some more storage space in our kitchen. Since it was going to be on the side of our kitchen, I did not have to focus so much on the aesthetics of the project.
Normally, I prefer staining rather than painting. I think it looks much better. However, Mrs. The Poor Swiss much prefer white furniture. So I decided to paint it white for once. This has been the first time I painted a piece of furniture.
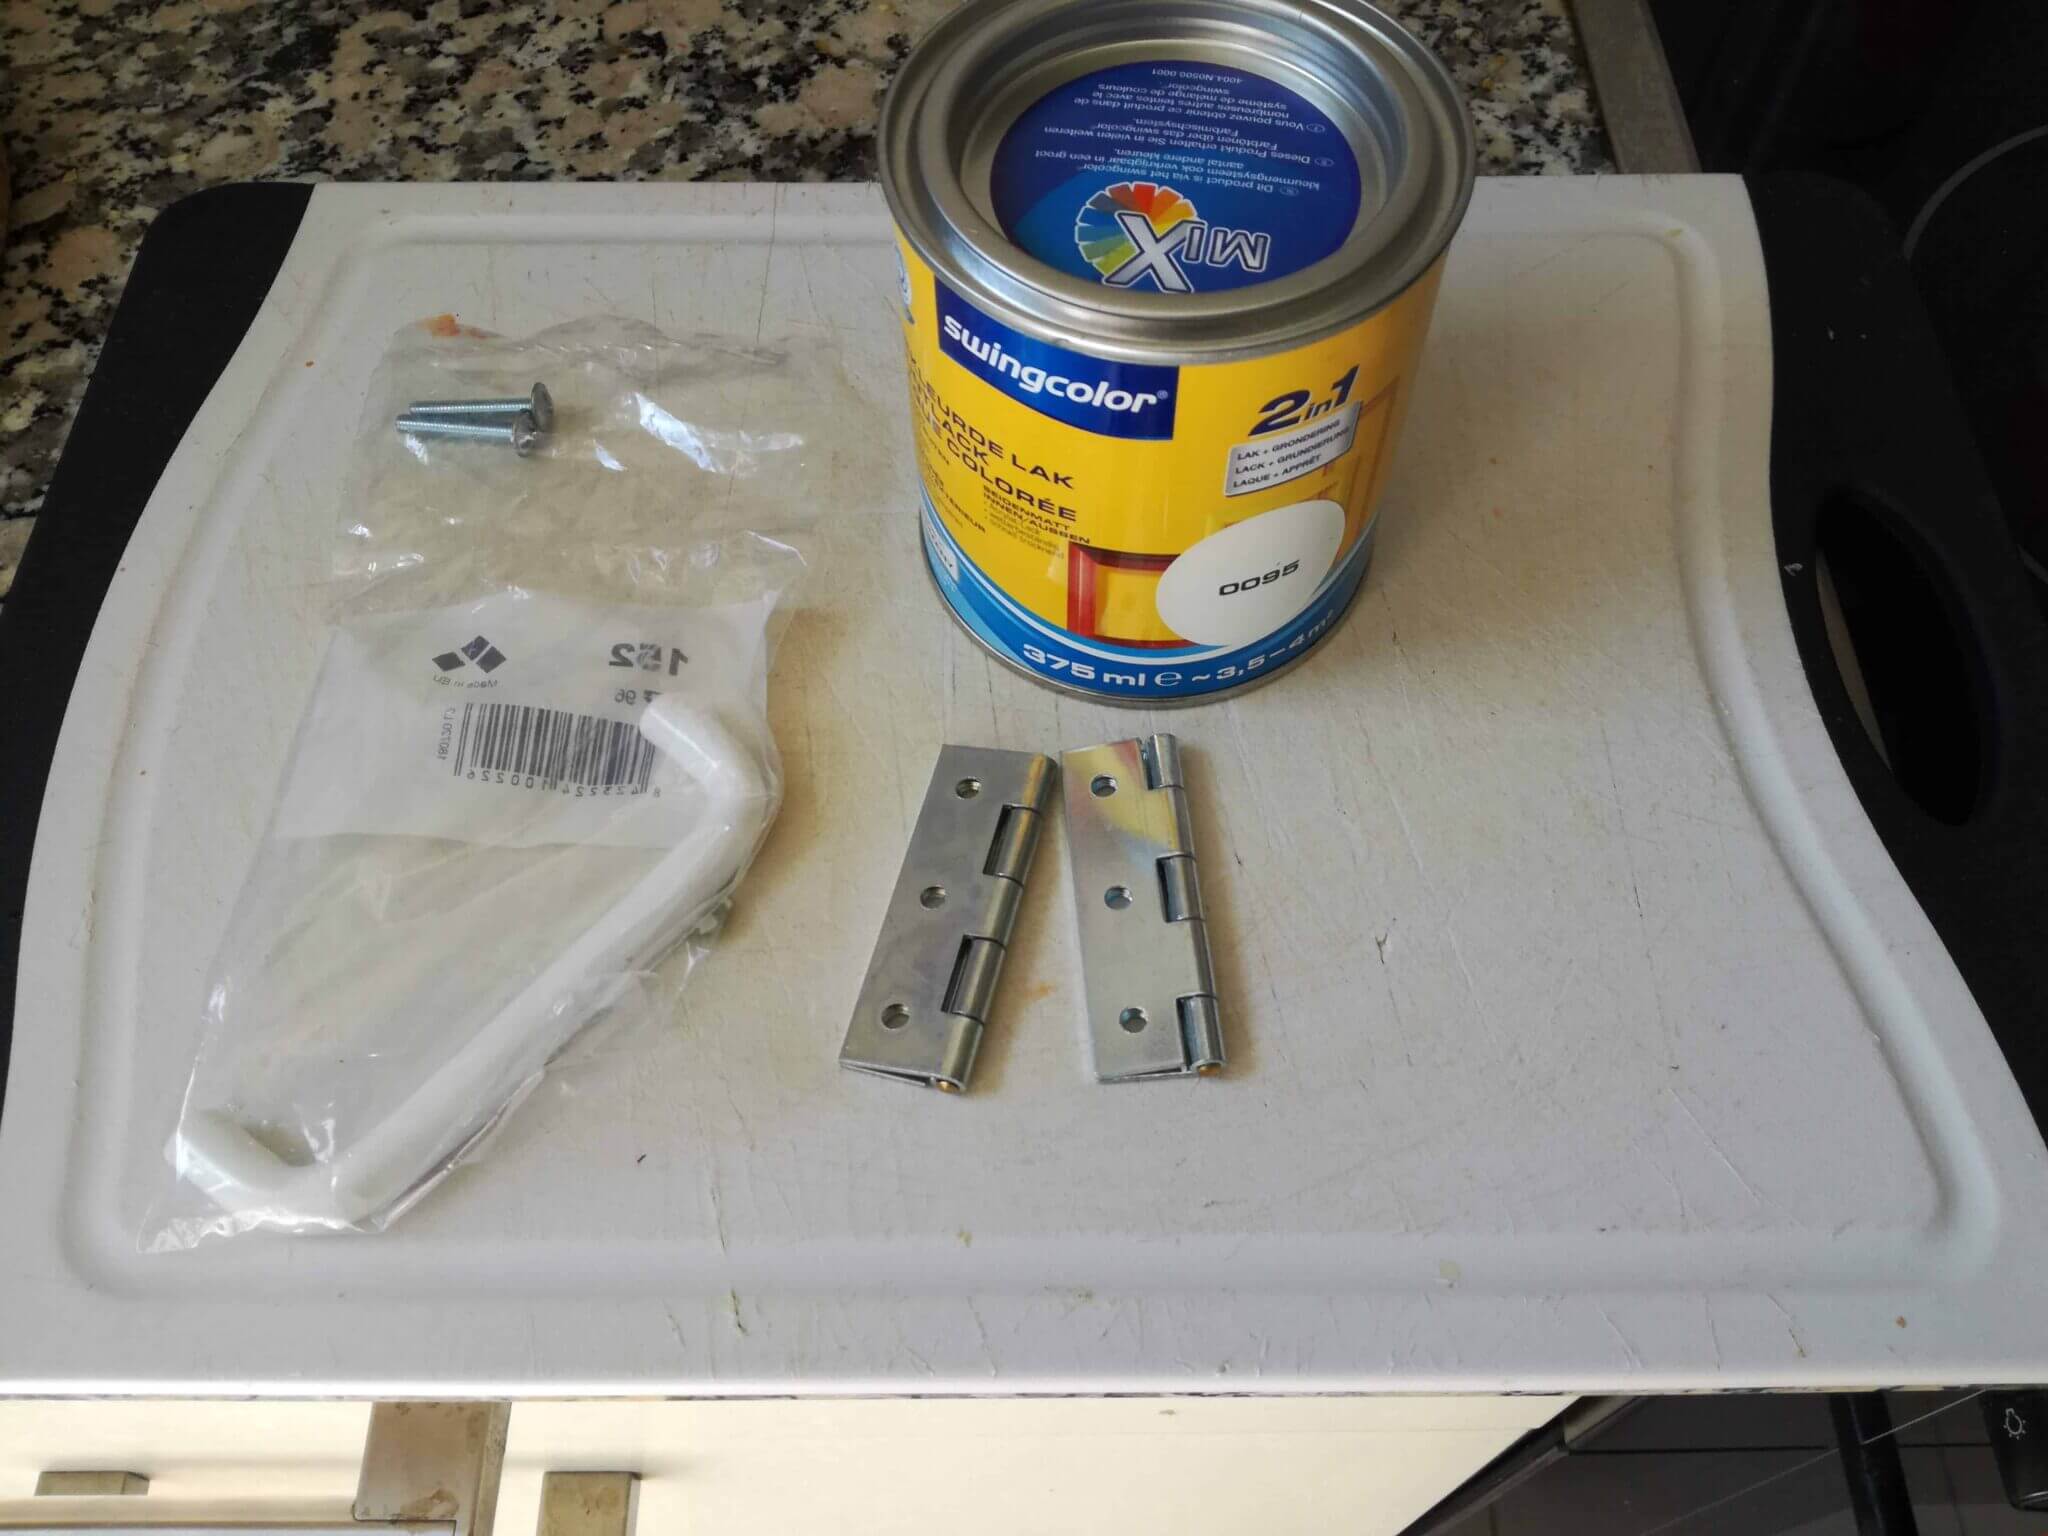
For this project, we needed to buy a few things. We needed the wood of course. For the door, we needed two hinges and a handle. And we also needed some paint. I still had screws and wood glue at home. I went to Bauhaus to buy all the parts.
The price
Here is all we needed for this build and the price:
- 1x 2000×300 Pine board: 9.40
- 1x 2000×400 Pine board: 10.95. Only use 2/3 =7.30
- 1x wood paint: 9.95
- 2x door hinges: 2x 0.60 = 1.20
- 1x door handle: 1.80
- Total: 29.65 CHF
Overall, this project cost us about 30 CHF (30 dollars). This is not really cheap for this kind of furniture. If we were doing these kinds of projects more often, we could buy paint in bigger recipients and that would save a lot of money on the project.
Another thing that is too expensive is wood. I wish we could find cheaper wood in Switzerland. And Pine softwood is the cheapest wood that we can find here. Thicker plywood is much more expensive. And hardwood is insanely too. I am trying to find cheaper options for wood. But it seems that most options are pretty bad these days.
As for the tools, I used the following tools:
- Random Orbital Sander
- Electric Screwdriver/Drill
- Circular Saw
- Chisel
- Various small hand tools
The cutting
The first step is always cutting. Here is the wood ready for cutting:
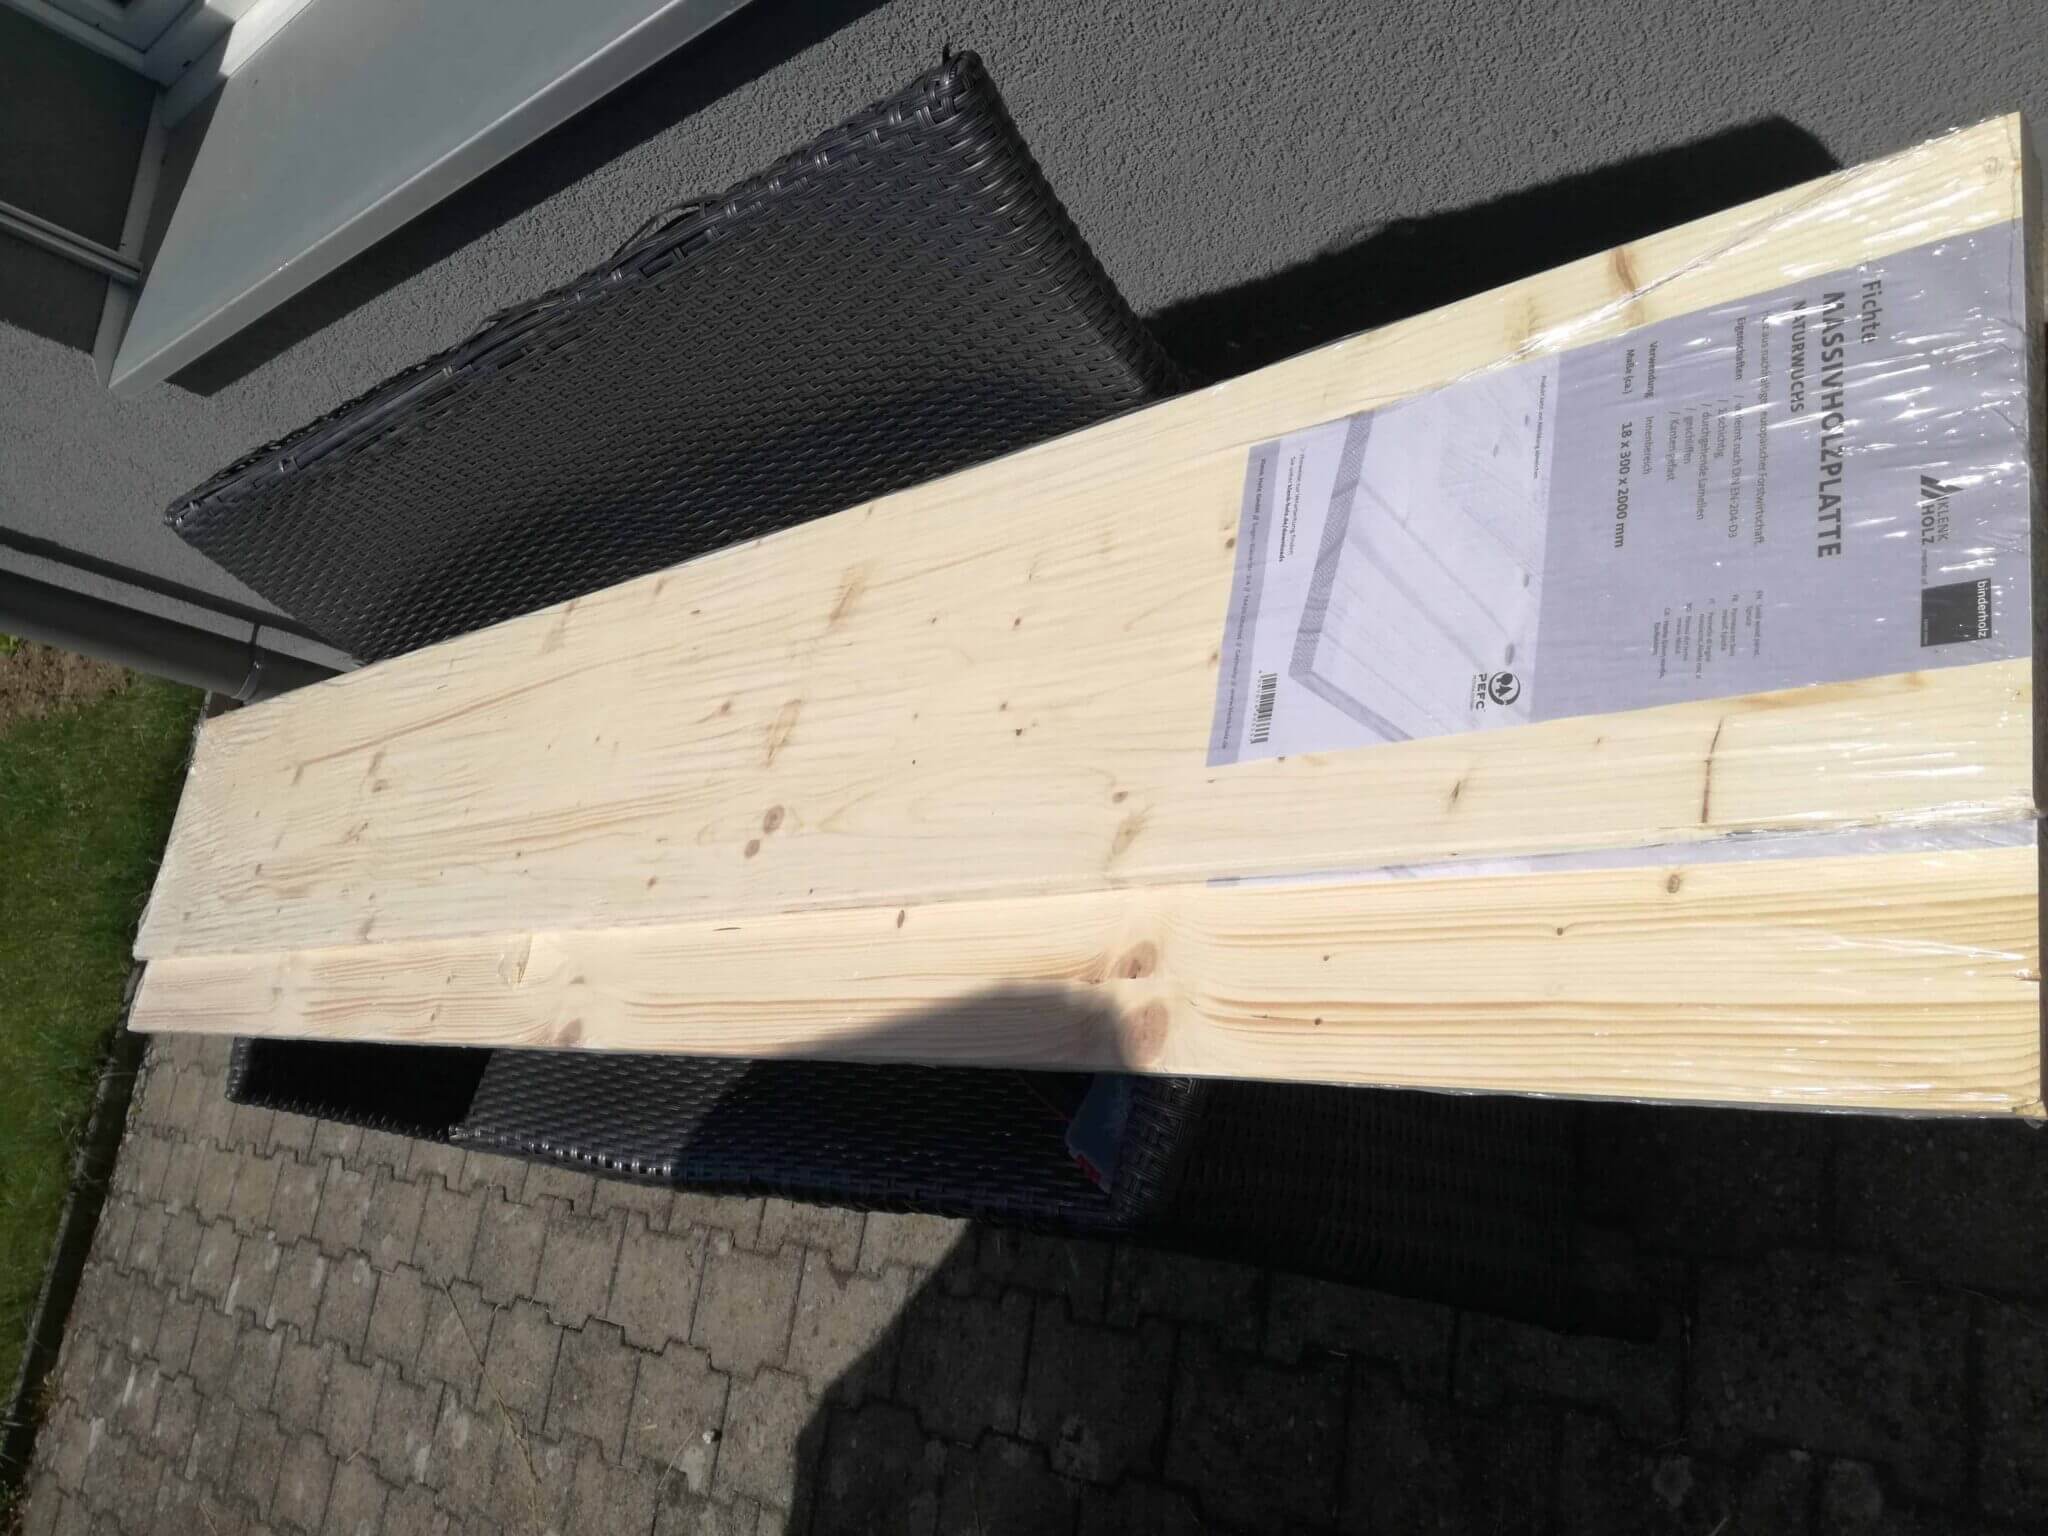
The wood had to be cut as such:
- Two boards of 60cm x 30cm
- Two boards of 60cm x 36.4cm. This is 40cm minus twice the board thickness.
- Two boards of 40 x 30cm
I did all the cuts with my circular saw using the guides I prepared with my first DIY project. I did not do a very good job I think. Some of the cuts were not as straight as I would like. One thing I should have done is to use one ready board as a guide for the other cuts. But everything would have been much simpler with a table saw or even a miter saw.
Here are the boards after they have been cut:

At this point, I did a preliminary sanding of all the boards with 80 grit. I wanted to do this so I could easily reach all the pieces at this point.
The assembly
After this, I started with the assembly. First, I did a dry fit of the boards. It is always a good idea to make a dry fit for a project like this. It is your last opportunity to fix the boards to their correct length.
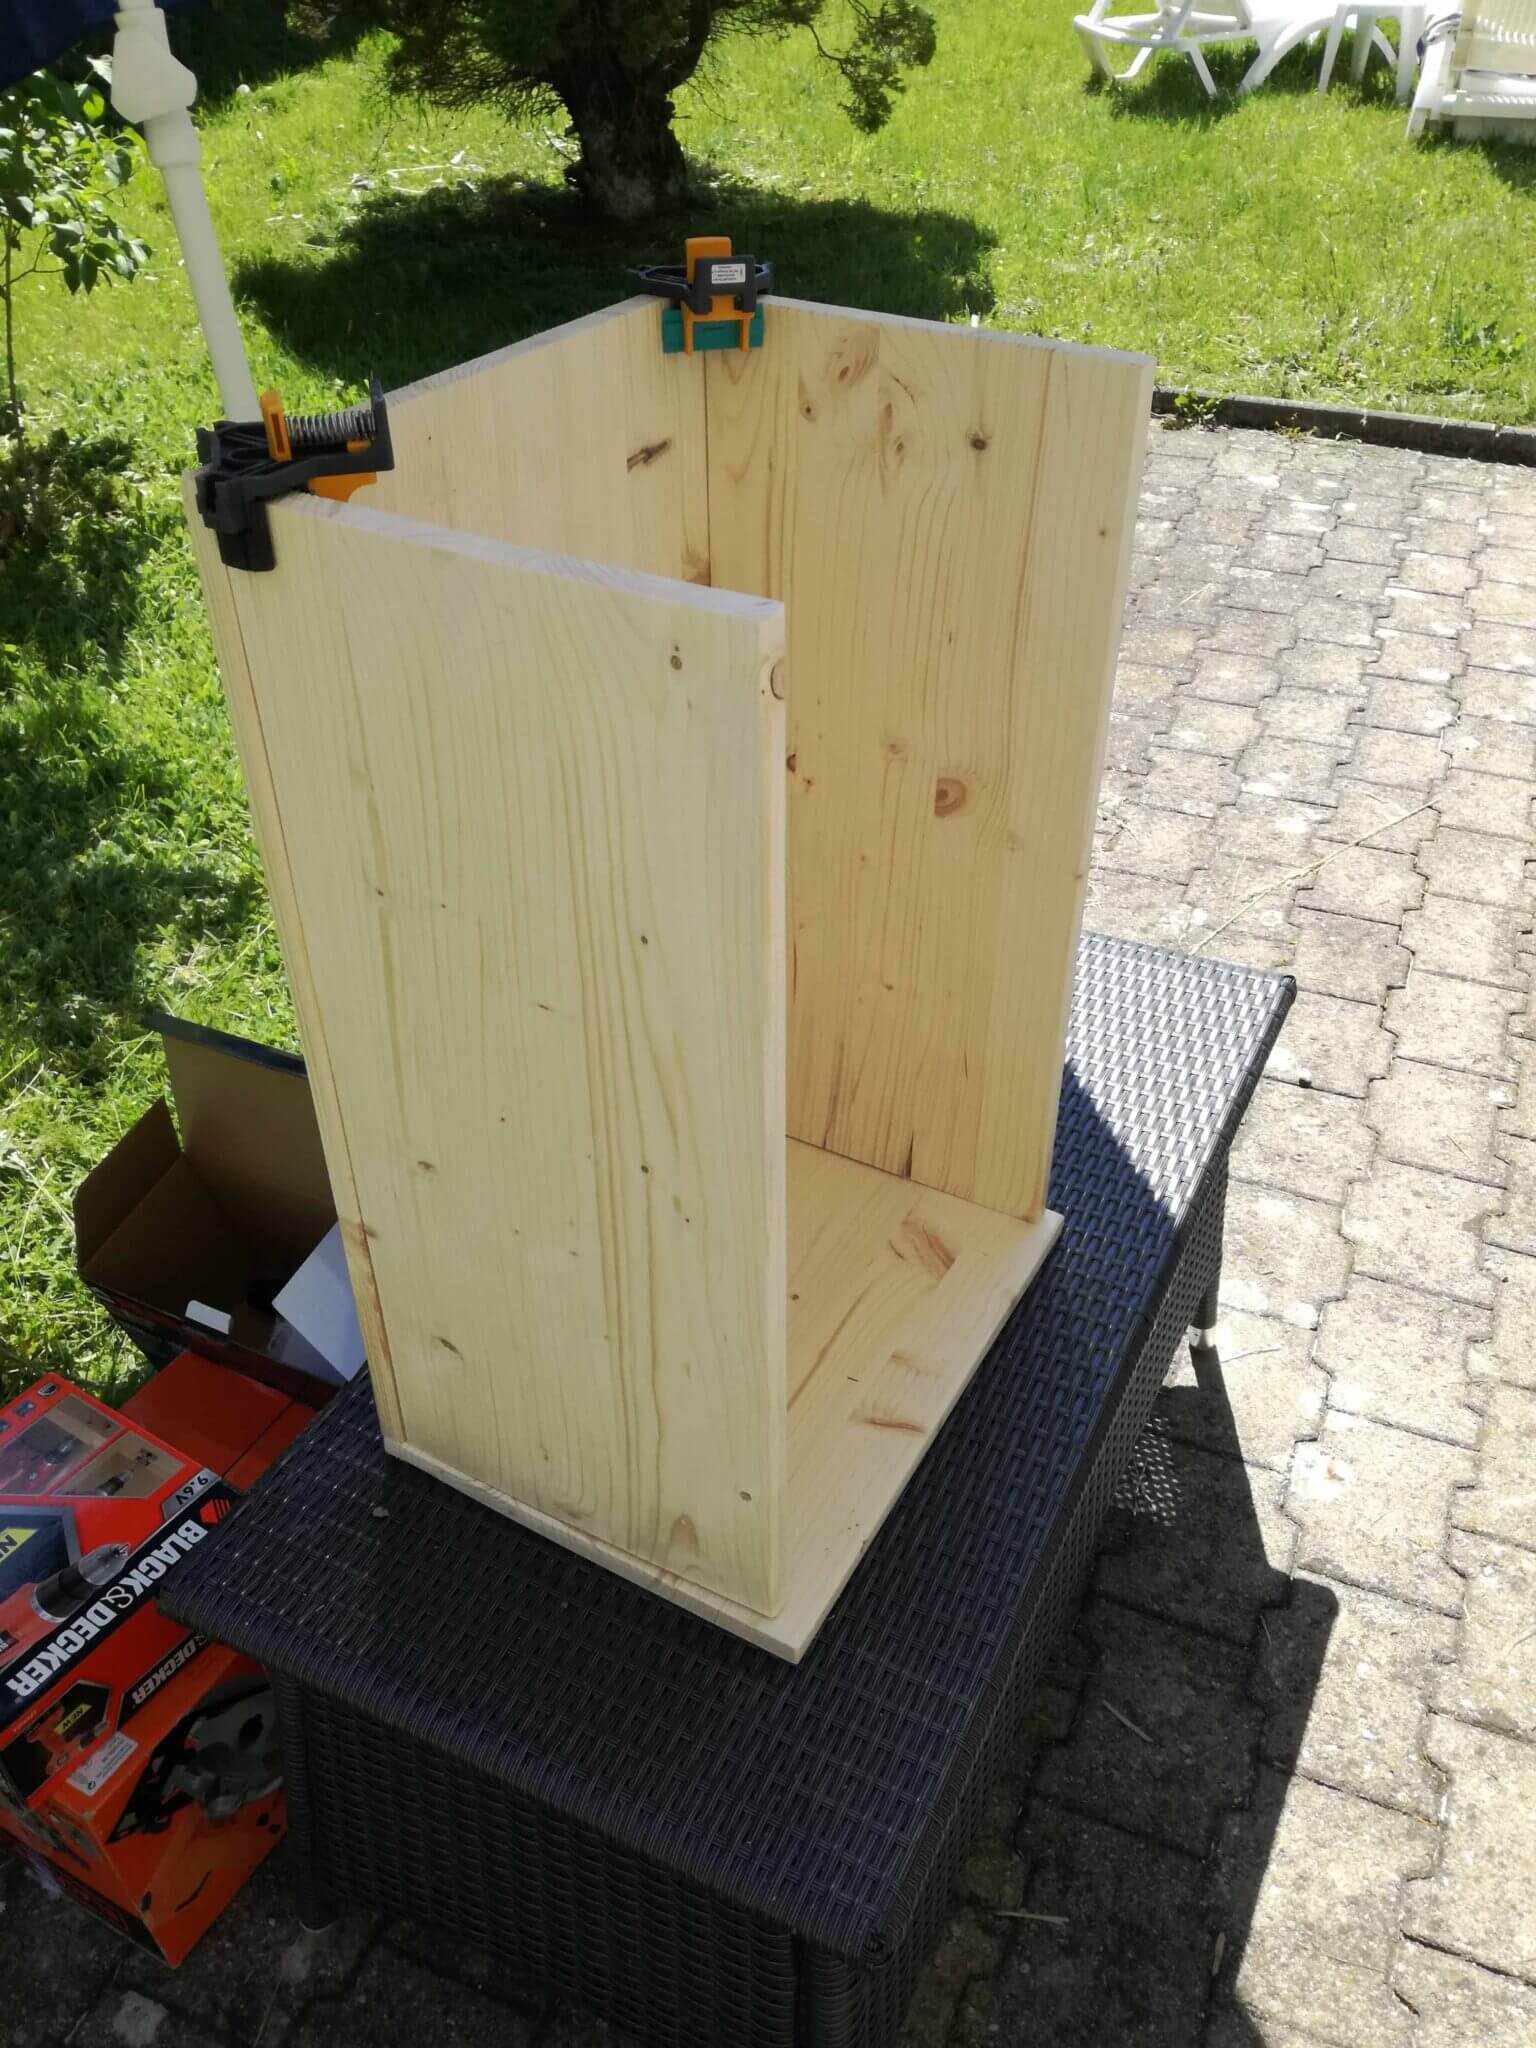
It is also a good time to choose where do the boards go. You should hide the ugliest boards. Put the bad parts on the back and on the inside.
Once you have decided on an order, it is time to assemble. Since it is not supposed to be decorative, I used screws on the top and the bottom. It is not really pretty but it gets the job done. I predrilled all the holes in order to avoid splitting the boards.
There is nothing special about the assembly. I also chiseled the location of the hinges to make them level with the sides. You could directly install the door at this time, but I chose to paint the first coat before I installed the door. I felt like the painting would be better like this. But I am not sure it makes a big difference.
The painting
Now that the cabinet was entirely assembled, I sanded it with 120 grit. If you did not sand before with 80 grit, I would recommend to first sand with 80 grit and then do a second pass with 120.
After this, Mrs. The Poor Swiss helped me paint the entire furniture once. We let it dry for a moment in the sun. It was quite fast. Then, I sanded the entire project with 240 grit. And we finally applied the second and last coat. Finally, I drilled the two holes and attached the handle. And the project was done!
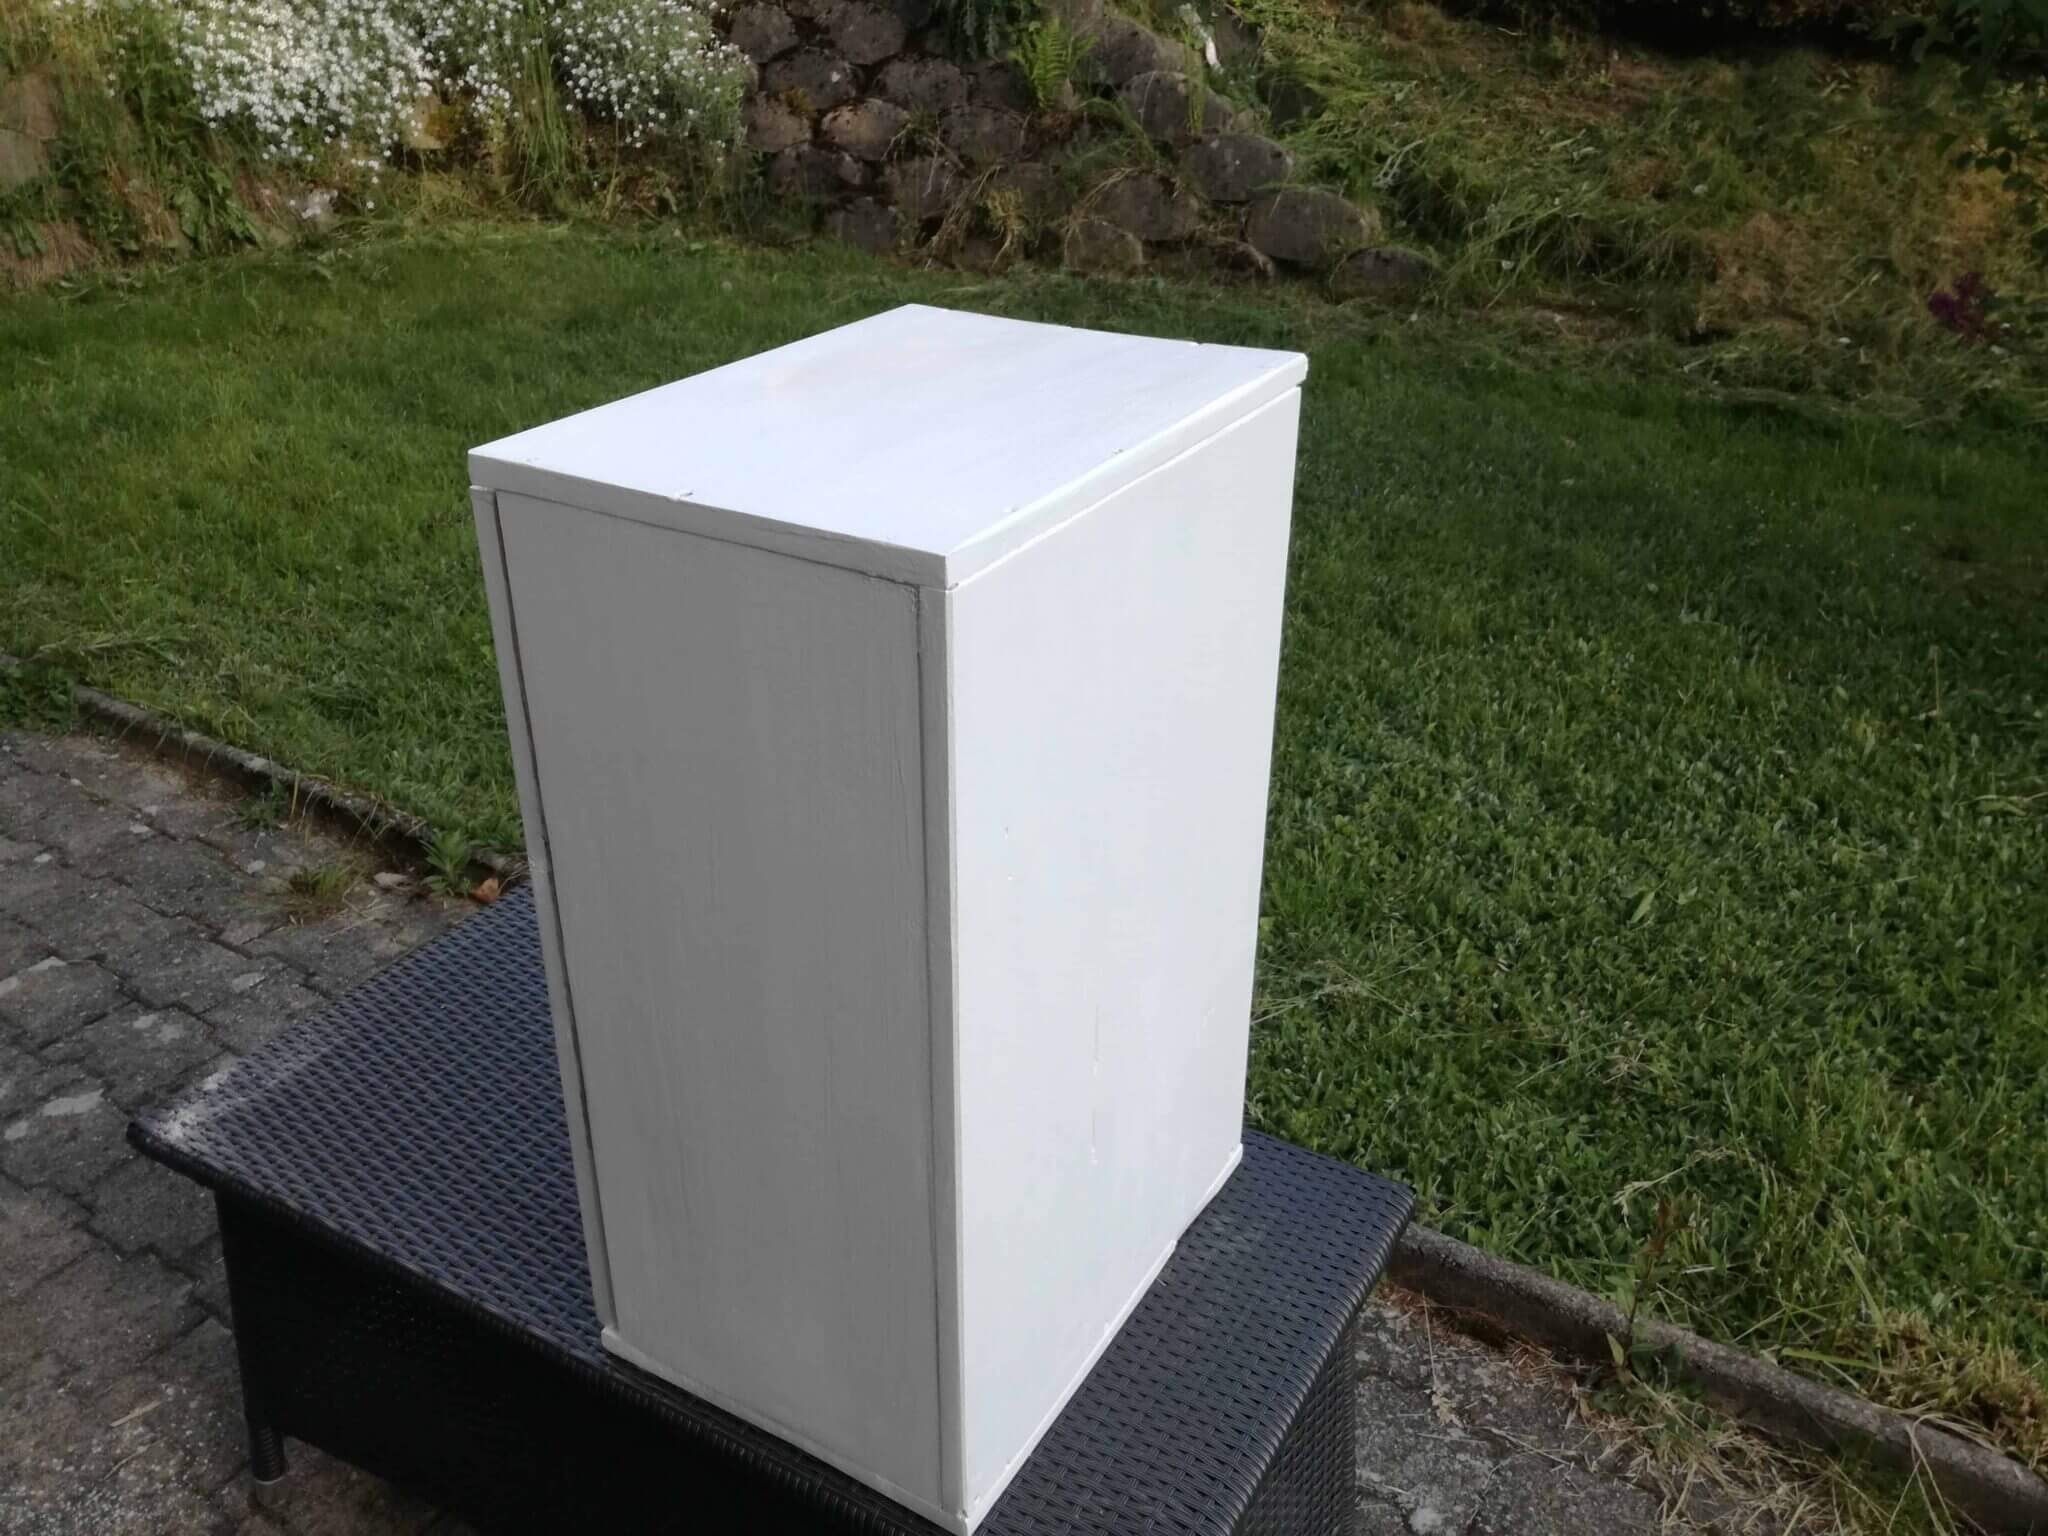
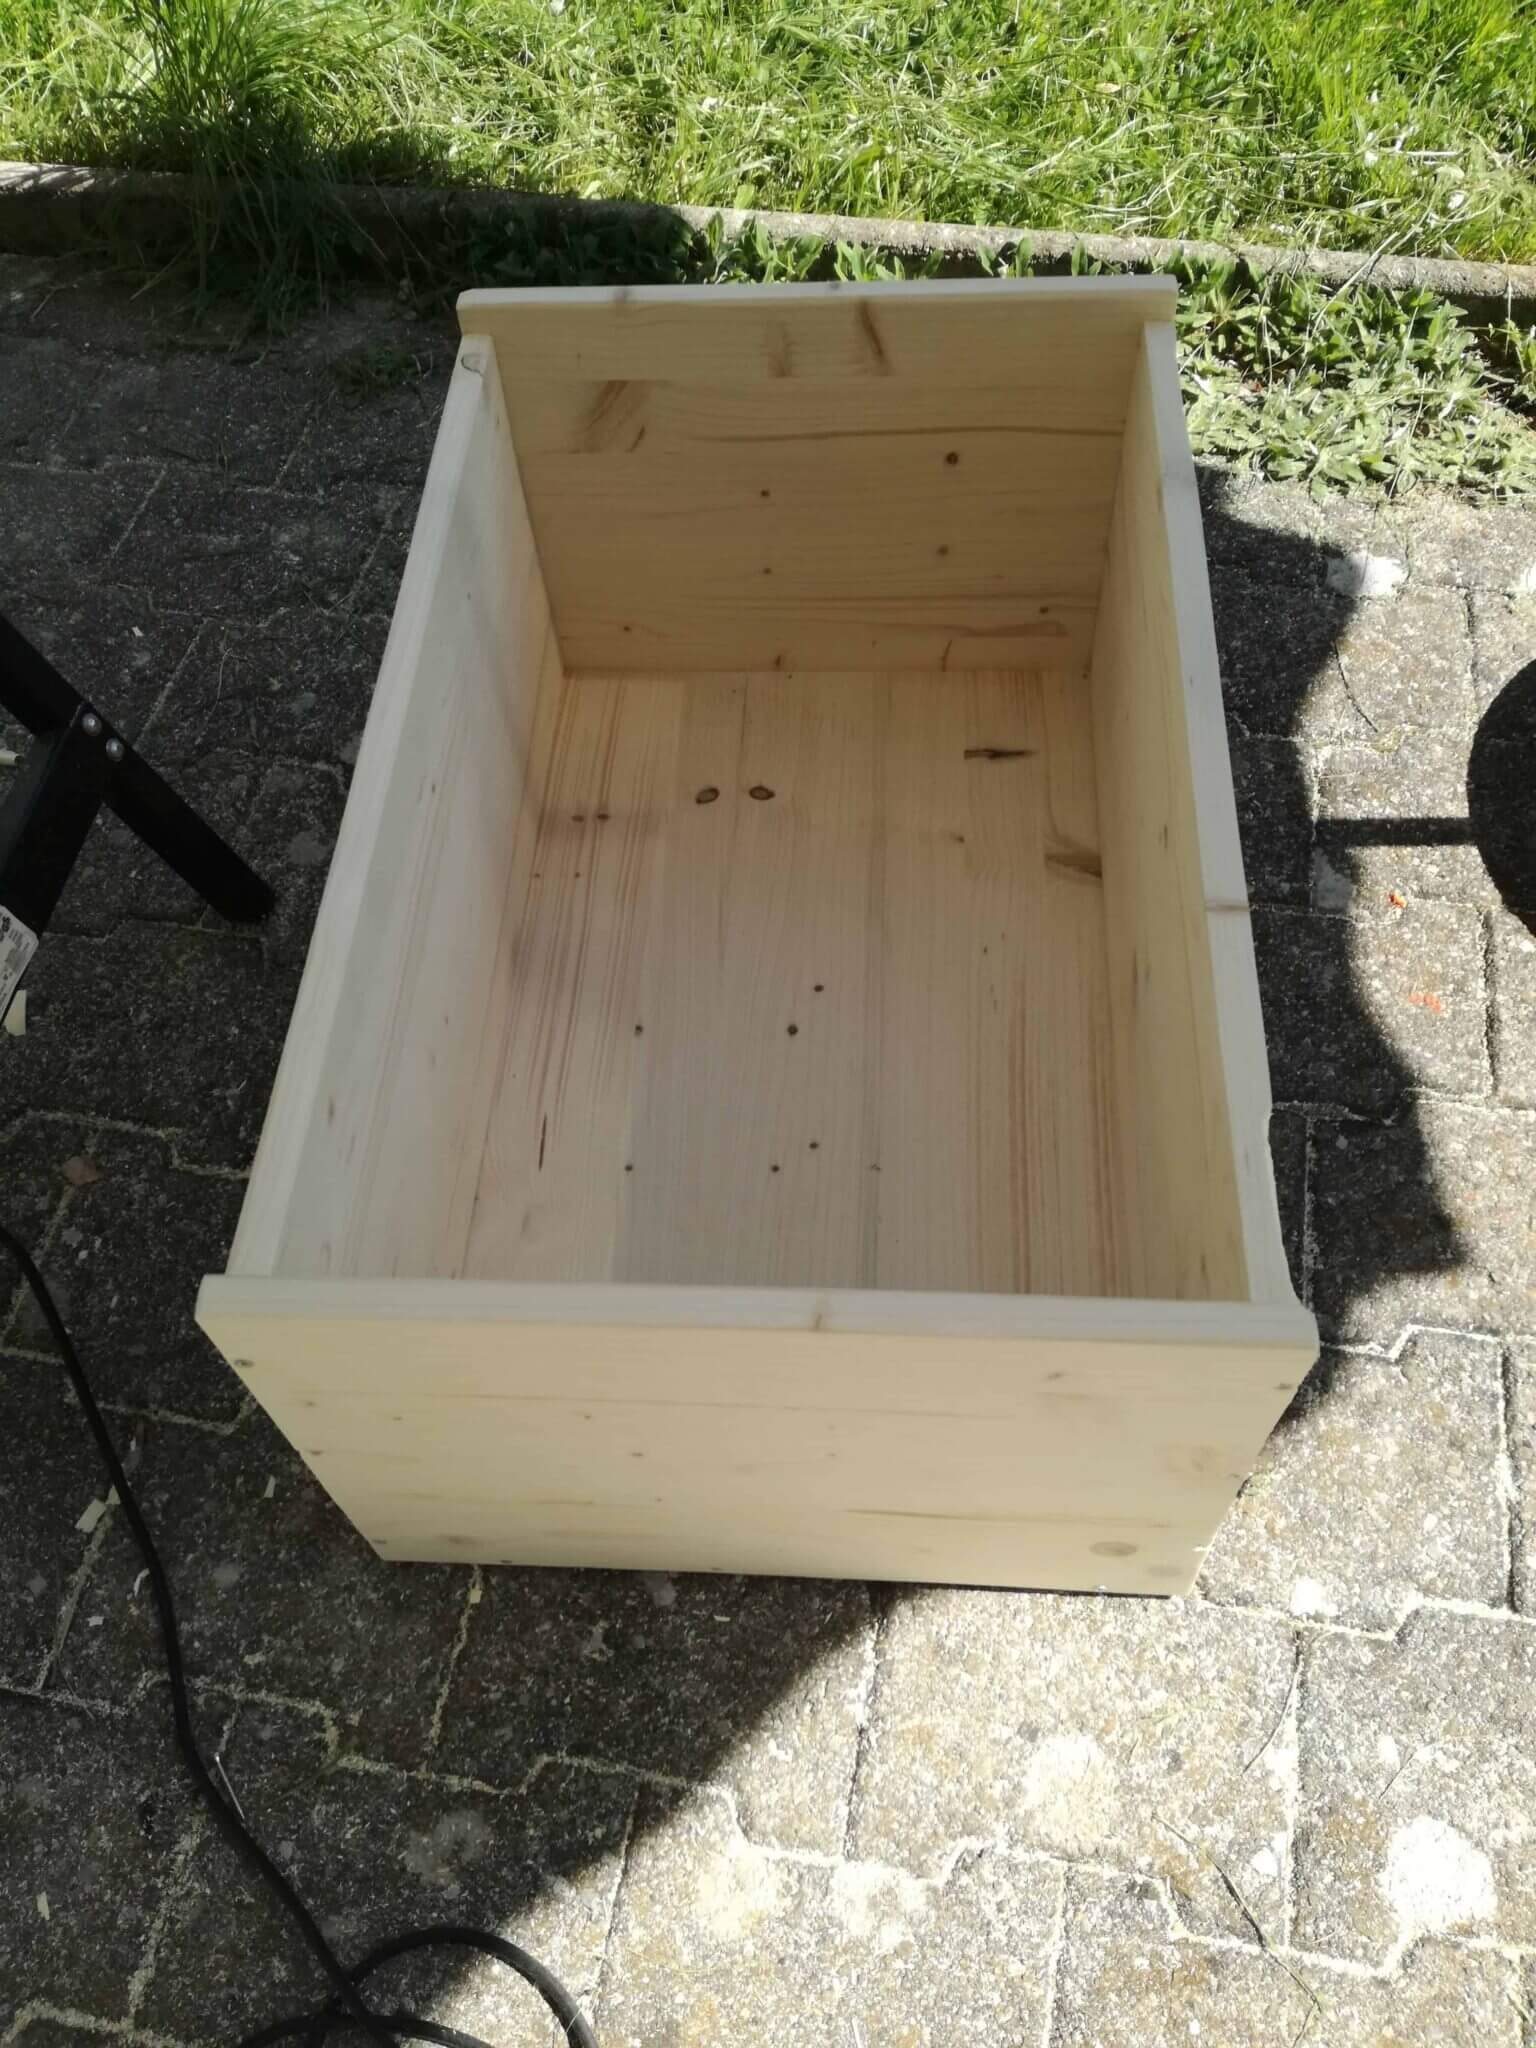
We just needed to put it in its place:
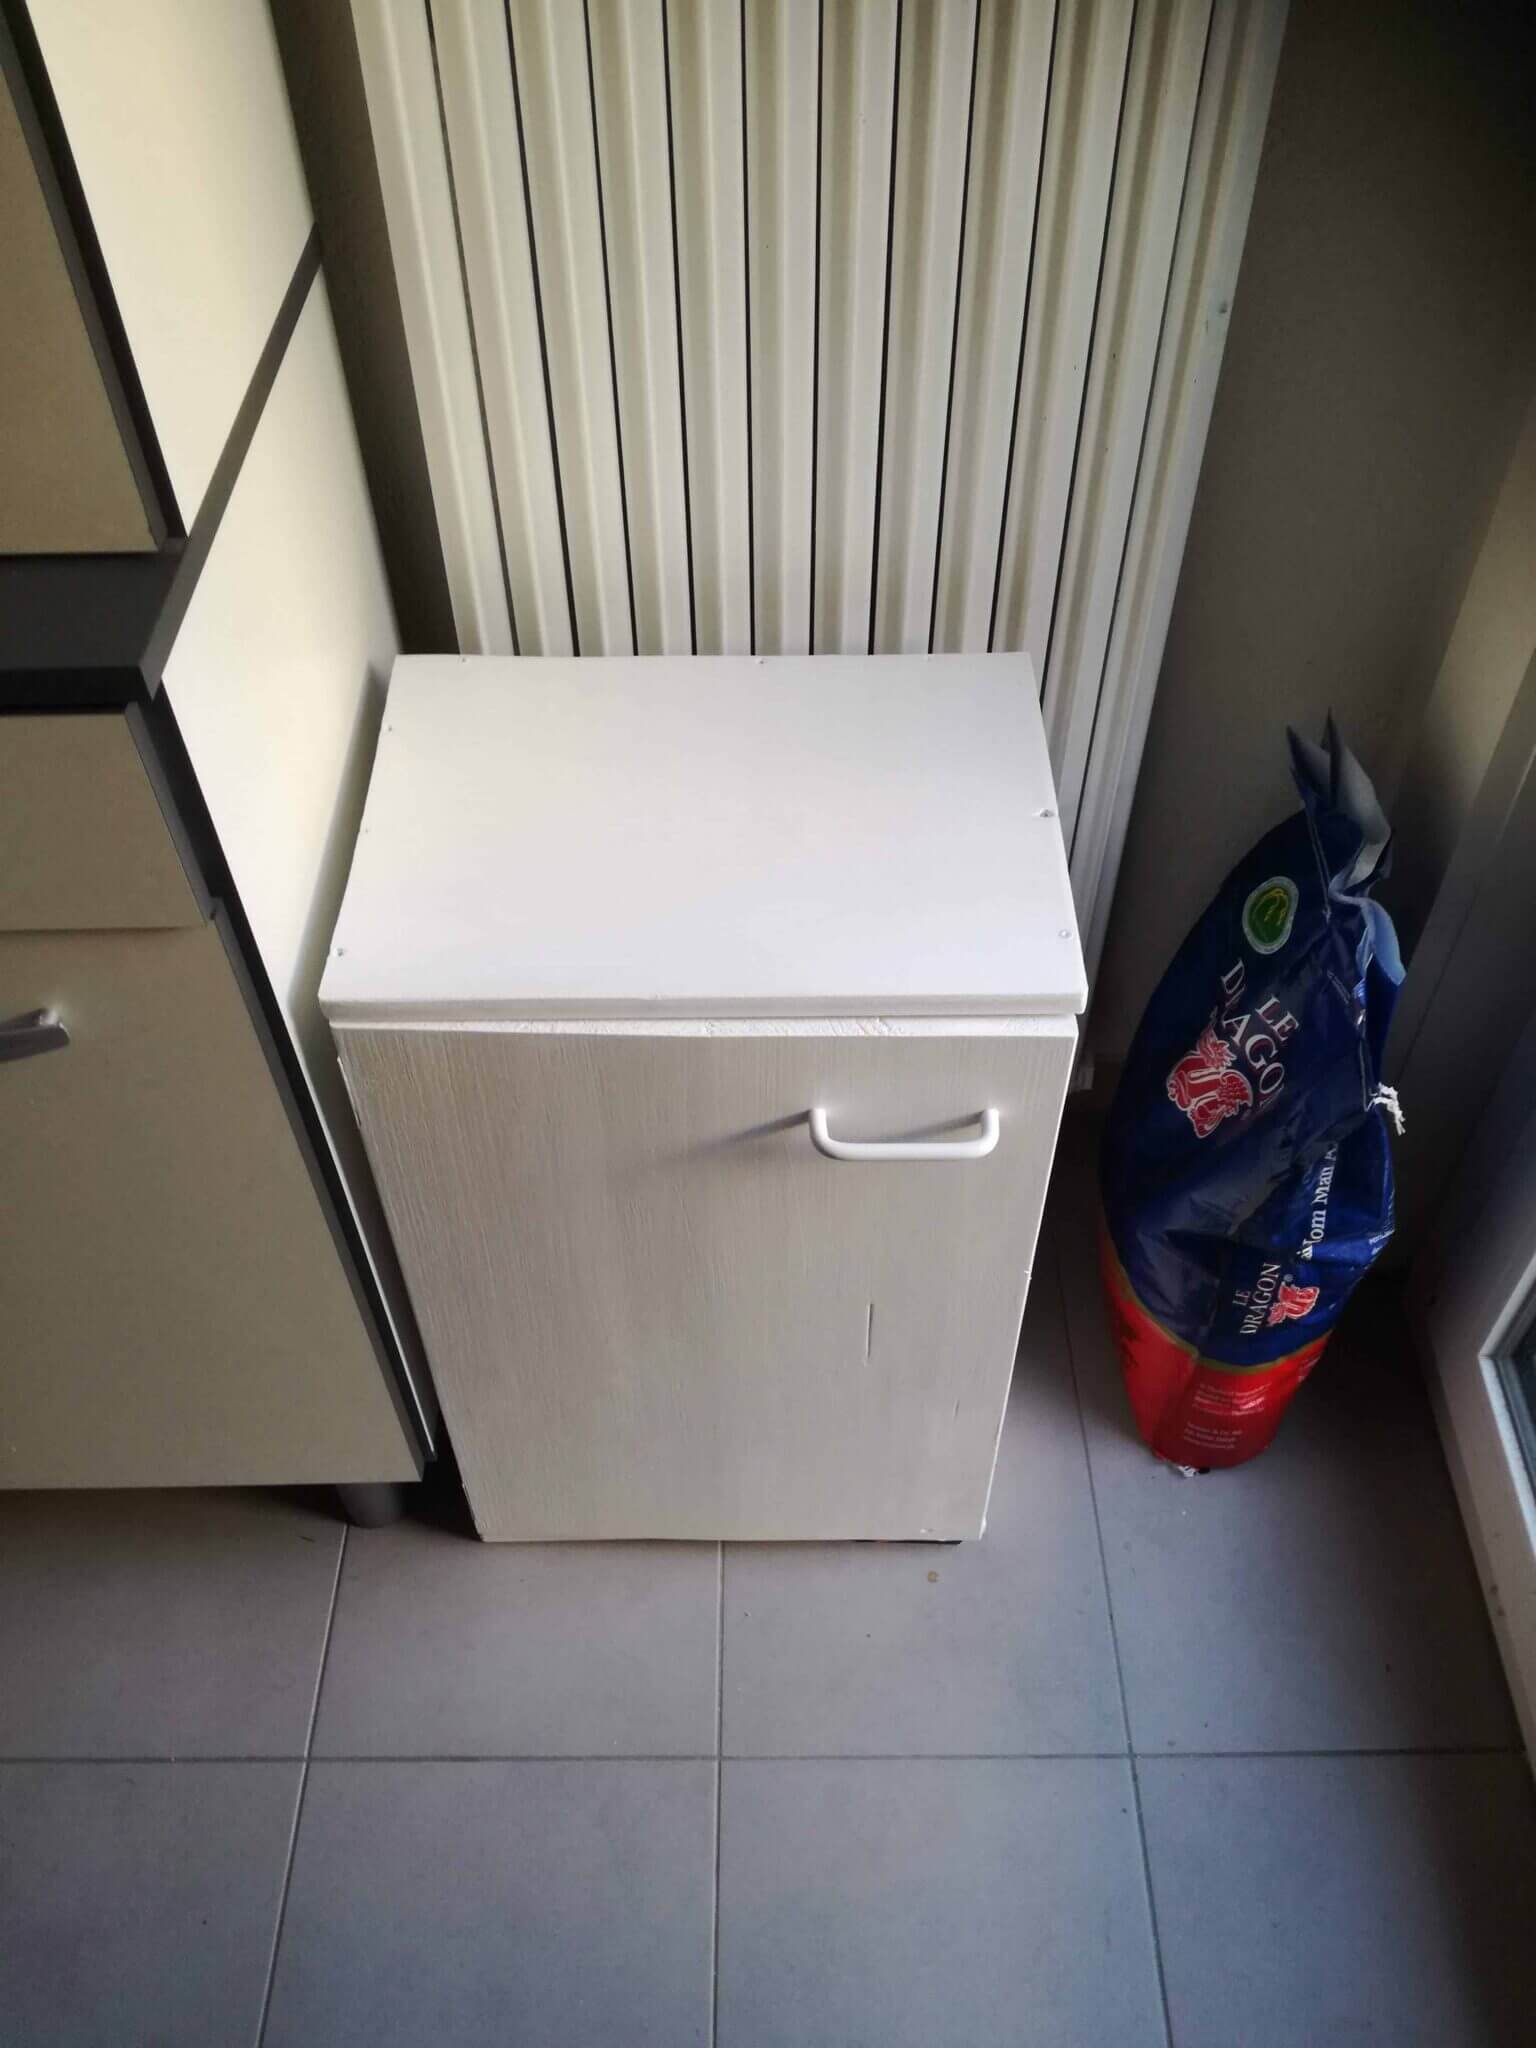
In the end, I am satisfied with the end product. Of course, it is far from being perfect. There are many flaws in the design and its execution. But it could have been much worse.
Possible DIY Improvements
After having done this entire project, I realized I could have done several things better. This is the first project I designed myself without having a base model in a Youtube video.
I should really have taken the time to put the hinges inside. Since it was the first time I ever did a door, I wanted to keep it simple. But as it turned out, it was not so simple anyway. So I should have put the hinge inside anyway.
Another thing in the design that could have been improved is the way I mounted the top and bottom. I decided to mount them on top and on the bottom of the sides. But I should have mounted them inside. It would have looked much nicer from the sides without being able to see the different layers.
One thing that would make the project much nicer would have been to use pocket holes. This would have hidden the screws from the top. The screws at the bottom are not an issue since we do not see them. However, my boards were not really thick enough for pocket holes. And not having a real workbench makes it very difficult for me to work with pocket holes.
For the painting, we should probably have applied a third layer of paint or at least a top layer to protect it. I think I should have sanded again after the second layer of paint and then applied a top coat of polyurethane to protect it.
DIY Lessons Learned
Once again, I learned a lot with this project. It was not an extremely challenging project. But this is only my third DIY project. I am mostly learning from my mistakes.
First of all, making a door is more difficult than it looks. You really need to make it in the correct dimensions. It is also difficult to make it really level. And installing the hinge is also not a great experience. My door is not too bad in this project. But it is not entirely level. And it opens a bit on its own. I should have planned for a magnet to let it closed.
For this project, I used a chisel for the first time in my life. It always looks so easy in each Youtube videos. But it is not that easy to use a chisel correctly. I used it to make the hinges of the door level with the wood. But I really did not do a good job. And some knots in the wood blocked my chisel. I should probably have chosen the spot for the hinges based on how clear the wood is.
This project was also the first time I used a random orbital sander. It is much stronger than I thought. I was thinking it would be weaker than my standard orbital sander. But this one is much stronger. It took more of the wood on the edges. I really have to be careful with it not too take out too much wood. And the vibration is quite strong for my hands, more than I anticipated. But I quickly got used to it. And I really prefer it to my orbital sander.
Before that, I was not convinced about sanding between coats. But I tried this time to sand with very fine grit between the two coats of paint. And it makes a huge difference. The paint looks and feels better. Now, I really wish I had sanded the bookshelf between the two coats of stain.
There is one thing I really have to figure is what to do with brushes between projects. Last time, I was able to use some kind of thinner to get rid of the stain and keep the brushes. But this time, I used an oil-based paint and it seems my thinner is not good. I would have to get some better thinner the next time I go to the DIY shop.
And the next time I go to this shop, I should also try to get some brush for glue. It should be much cleaner and nicer to spread the glue with a brush instead of my fingers or another piece of wood.
For this project, I have used pine boards. Pine is softwood, not hardwood. That means it is quite fragile. It is very easy to scratch the wood or to damage the corners and the edges. I made quite a few scratches during this project. And they are showing well under the paint. They would have less visible under a stain. I need to be more careful with the wood for my next projects.
On again, I have realized that it is difficult to get really straight cut with my circular saw. Not only straight but getting exactly the same size is also difficult. For some of the cuts, I could have used a miter saw but for most of the cuts, I really need a table saw. The issue is that I would not know where to put a table saw.
Finally, I am really wasting too much time because I do not have a shop to work in. I also do not have a workbench. The entire project took me about five hours. But one hour was just to move everything from my cellar to my backyard and then the other way around when I was done. If I want to do bigger projects later, this is going to be very difficult.
Conclusion
That is it for this simple DIY cabinet project! Overall, it was slightly more complicated than I anticipated. However, I learned a lot of things during the construction. And in the end, we have a very cheap and quite sturdy cabinet.
Once again, I had a really good time building this furniture. I still have many pieces of furniture that I want to build. However, some of them are near impossible to build without a miter saw or a table saw. I would like to build some things for our backyard. I have a good plan for chairs and benches.
If you liked this project, you will like Our DIY Bookshelf Project for 65$.
What do you think of our projects? Do you have any advice for me?

Download this e-book and optimize your finances and save money by using the best financial services available in Switzerland!
Download The FREE e-bookRecommended reading
- More articles about Money-Saving Tips
- More articles about Save
- When is Mobility cheaper than owning a car?
- 11 Tips to Save Money Sustainably
- 7 Tips to save money with your newborn in 2024